How to Make Garlic Infused Olive Oil at Home, Step by Step
Few kitchen projects are as rewarding as making your own garlic infused olive oil. The process is approachable, the ingredients are minimal, and the result is a fragrant, golden oil that elevates everything it touches. Whether you drizzle it over bread, stir it into pasta, or keep a small jar on the counter for everyday cooking, a well-made garlic oil has a way of becoming indispensable.
This guide walks you through every stage of the process, from choosing your garlic and oil to storing the finished product safely. You will also find notes on variations, common mistakes, and a few ways to extend the concept once you have the basics down.
Before You Begin: A Note on Food Safety
Garlic infused olive oil is a beloved pantry staple, but it does require careful attention to one specific safety concern: the risk of Clostridium botulinum growth in low-acid, oxygen-free environments. Raw garlic submerged in oil creates exactly those conditions. This is not a reason to avoid making garlic oil at home. It is a reason to follow the correct method every time.
The two safest approaches for home cooks are:
- Heat infusion: Gently warming the garlic and oil together to a sufficient temperature before straining and storing.
- Short-term refrigerator storage: Making small batches and using them within one week, stored in the refrigerator at all times.
This recipe uses a controlled heat infusion method followed by refrigerator storage, which is widely considered the most practical approach for home kitchens. Never store homemade garlic oil at room temperature for more than a few hours. When in doubt, discard and make a fresh batch. It only takes about thirty minutes.
Important: If you are pregnant, immunocompromised, or preparing food for young children or elderly individuals, consult a qualified healthcare provider before incorporating homemade infused oils into your routine. Commercial garlic oils are acidified to meet food safety standards; homemade versions are not.
Ingredients
This recipe makes approximately one cup (240 ml) of garlic infused olive oil. It scales easily if you need more.
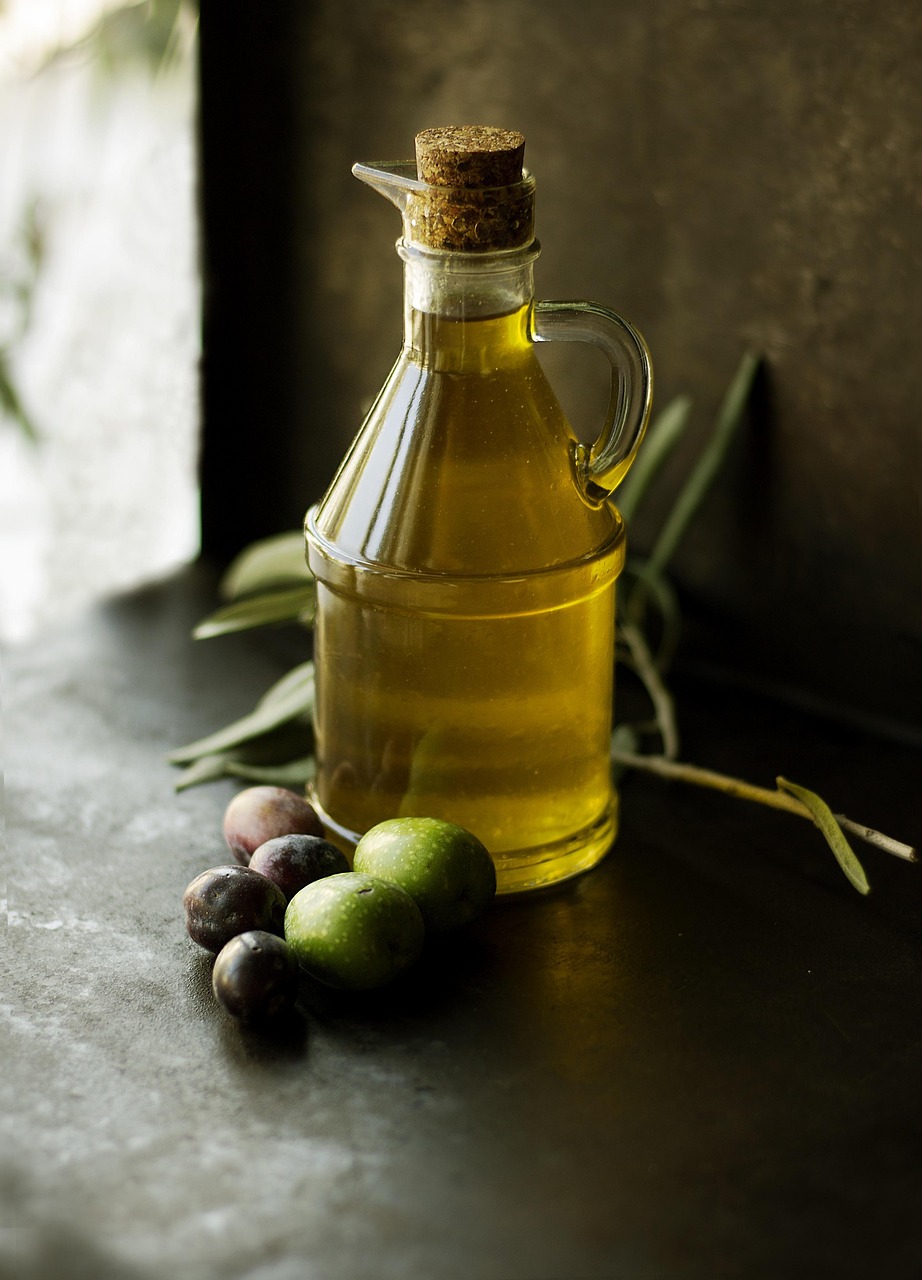
- 1 cup (240 ml) extra-virgin olive oil, or a mild olive oil if you prefer a more neutral flavor base
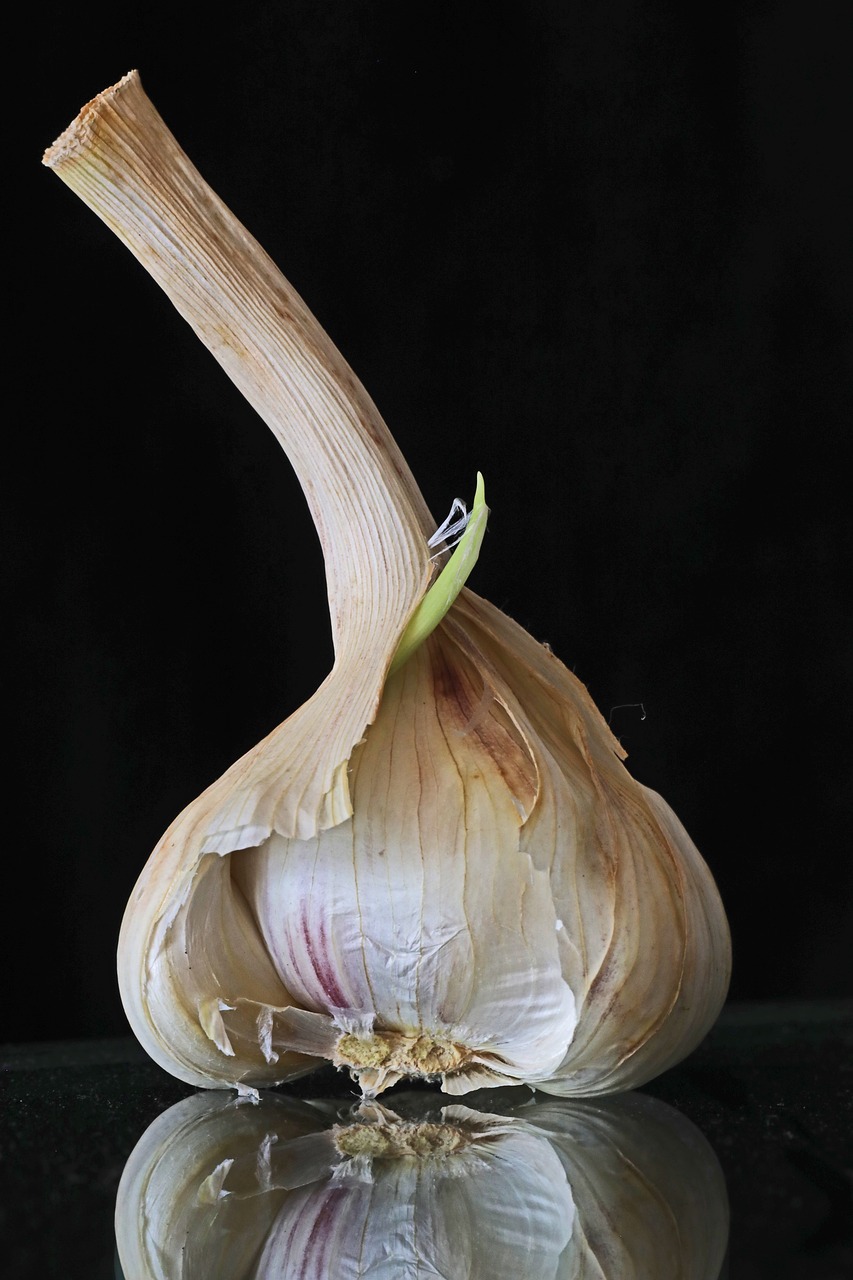
- 6 to 8 medium garlic cloves, peeled and lightly smashed (not minced)
- Optional: 1 small sprig of fresh rosemary or thyme, dried chili flakes, or a strip of lemon peel for additional flavor
Choosing Your Olive Oil
The oil you choose matters more than you might expect. A robust, peppery extra-virgin olive oil will assert itself alongside the garlic, giving you a more complex, assertive result. A lighter, milder olive oil will let the garlic take center stage. Both are excellent choices; the right one depends on how you plan to use the finished oil.
Avoid olive oils labeled as "light" in the sense of refined or heavily filtered. These have been stripped of much of their character. Look for an oil with a clear harvest date and a single country or region of origin.
Choosing Your Garlic
Fresh, firm garlic is essential. Avoid cloves that feel soft, look greenish, or have begun to sprout. Softneck varieties (the kind most commonly found in supermarkets) work perfectly well. If you have access to hardneck varieties such as Rocambole or Purple Stripe, their more complex flavor translates beautifully into an infused oil.
Pre-peeled garlic from a jar is convenient but can carry more surface moisture, which increases risk. If you use it, pat the cloves thoroughly dry before proceeding.
Equipment You Will Need
- Small saucepan or skillet (stainless steel or enameled cast iron works well)
- Instant-read or candy thermometer
- Fine mesh strainer or cheesecloth
- Clean glass jar or bottle with a tight-fitting lid (sterilized)
- Funnel (optional but helpful)
Sterilize your jar before use. A quick wash in hot soapy water followed by ten minutes in a 225°F (107°C) oven will do the job. Let it cool completely before adding your oil.
Step-by-Step Instructions
Step 1: Prepare the Garlic
Peel your garlic cloves and give each one a firm press with the flat side of a broad knife. You want them smashed and slightly opened, not crushed into a paste. This releases the aromatic compounds without creating tiny particles that are difficult to strain out later.
Pat the cloves dry with a clean paper towel. Any surface moisture can cause the oil to spatter during heating.
Step 2: Combine Garlic and Oil in the Pan
Place the smashed garlic cloves into a cold, dry saucepan. Pour the olive oil over them. Starting in a cold pan gives you more control over the temperature and helps the garlic flavor infuse gradually rather than frying abruptly.
If you are adding optional aromatics such as a rosemary sprig or dried chili flakes, add them now.
Step 3: Heat Gently and Monitor the Temperature
Place the pan over low heat. Clip your thermometer to the side of the pan or hold it in the oil to monitor temperature throughout this step.
Heat the oil slowly until it reaches between 180°F and 200°F (82°C to 93°C). At this temperature range, the garlic will begin to turn golden very slowly and the oil will become fragrant. You will see tiny, lazy bubbles rising around the cloves. This is normal and indicates that moisture is gently cooking off.
Maintain this temperature range for a minimum of 20 minutes, stirring occasionally. Do not rush the process by increasing the heat. If the garlic browns quickly or turns dark around the edges, your heat is too high. Remove the pan from the burner briefly and let it cool down before continuing.
The goal is a pale golden garlic with a sweet, mellow, deeply savory scent. Darkly browned or bitter-smelling garlic means the oil has been cooked at too high a temperature and will taste acrid.
Step 4: Remove from Heat and Cool
Once the garlic is pale gold and the oil is richly fragrant, remove the pan from the heat. Allow everything to cool in the pan for 10 to 15 minutes. Do not rush to strain while the oil is still very hot.
Step 5: Strain and Transfer
Set your fine mesh strainer over the opening of your sterilized jar (use a funnel if the jar has a narrow neck). Pour the cooled oil slowly through the strainer. Press the garlic lightly with the back of a spoon to extract any remaining oil, then discard the solids.
If you want an especially clear oil, line the strainer with a single layer of cheesecloth before straining.
Seal the jar tightly once the oil has reached room temperature.
Step 6: Label and Refrigerate
Write the date on your jar before it goes into the refrigerator. This sounds like a small thing, but it is the most important habit you can build with homemade infused oils. It keeps you honest about freshness.
Place the sealed jar in the refrigerator immediately.
Storage Instructions and Shelf Life
Homemade heat-infused garlic olive oil should be stored in the refrigerator at all times and used within 7 to 10 days. Some sources extend this to two weeks, but a one-week guideline gives you a comfortable safety margin.
Olive oil will solidify or turn cloudy when cold. This is completely normal. Simply remove the jar from the refrigerator about 20 minutes before you plan to use it, or set it briefly in a bowl of warm water. The oil will return to its liquid state quickly.
Discard your garlic oil if you notice:
- An off or sour smell
- Visible mold or cloudiness that does not clear when warmed
- Any unusual texture or color change
- Bulging lids or any sign of fermentation
Do not store homemade garlic oil at room temperature. Even a brief lapse of several hours is not recommended.
How to Use Your Garlic Infused Olive Oil
Once you have a jar of this fragrant oil in the refrigerator, you will find uses for it constantly. A few starting points:
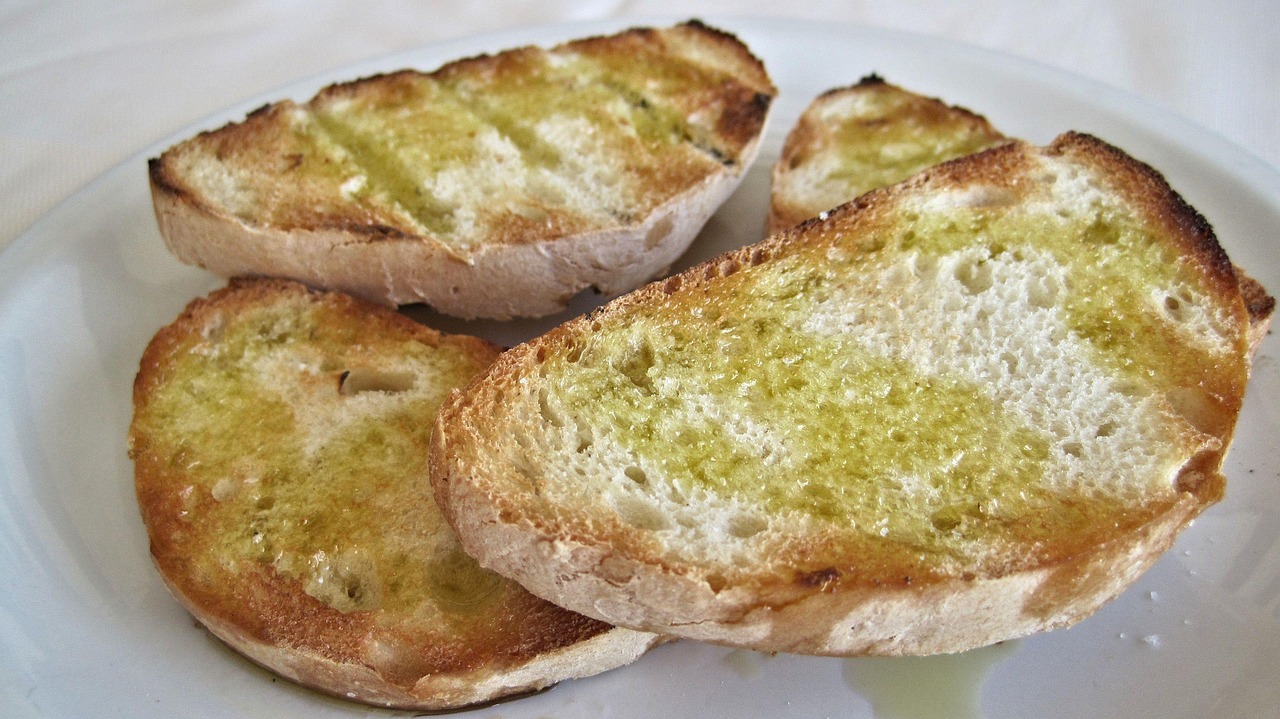
- Drizzle over crusty bread or toasted sourdough
- Use as the base fat for sautéed vegetables
- Toss with roasted potatoes before or after cooking
- Stir into cooked grains, lentils, or legumes
- Use as a finishing oil over soups or pizza
- Whisk into vinaigrettes for a deeper, rounder flavor
For a complete overview of creative applications, visit our guide to cooking and crafting with garlic oil, which covers everything from marinades to bread baking.
If you enjoy bold, layered flavors, garlic oil also forms the aromatic backbone of our crunchy garlic chili oil, a condiment that comes together in under thirty minutes and lasts considerably longer thanks to the addition of dried chilies and other shelf-stable aromatics.
And if you are looking for the single most iconic use of garlic oil in Italian cooking, our recipe for pasta with garlic and oil will show you exactly how aglio e olio is done, with no shortcuts and no apologies.
Variations and Substitutions
Herb-Infused Garlic Oil
Add a small sprig of fresh rosemary or thyme to the pan along with the garlic. Strain it out at the end. The herbs add a woodsy, slightly floral dimension that pairs especially well with roasted vegetables and grilled proteins.
Chili Garlic Oil
Add one teaspoon of dried red chili flakes to the pan during the infusion. The heat level is mild and background, not aggressive. Increase to two teaspoons if you want something with more presence. This variation is particularly good drizzled over flatbreads or stirred into hummus.
Lemon Garlic Oil
Add a 2-inch strip of lemon zest (yellow part only, no white pith) to the pan. The citrus brightens the finished oil noticeably and makes it especially suited to seafood and grain dishes. Remove the zest along with the garlic when straining.
Alternative Oil Bases
Extra-virgin olive oil is the classic choice, but it is not the only option. A few worth considering:
- Avocado oil: Neutral in flavor and has a high smoke point, making it practical for higher-heat applications.
- Sunflower oil: Very mild, lets the garlic speak clearly without interference from the oil itself.
- Grapeseed oil: Light bodied and clean tasting, a good choice if you plan to use the oil in vinaigrettes.
All of these follow the same process and the same food safety guidelines. The shelf life remains the same regardless of the oil base: one week, refrigerated.
Using Garlic Essential Oil Instead of Fresh Garlic
For a cosmetic or aromatic application (not culinary), some crafters prefer to work with garlic essential oil added to a carrier oil rather than making a food-grade infusion. This is an entirely different product with a different purpose and a different set of considerations.
If you are working with garlic essential oil for skin or aromatic use, always dilute properly. A typical dilution for adults is 1% or less, meaning no more than 6 drops of essential oil per ounce (30 ml) of carrier oil. Perform a patch test on a small area of skin and wait 24 hours before broader use. Keep essential oils away from eyes and mucous membranes. This type of preparation is not intended for cooking or consumption.
Troubleshooting Common Problems
The Garlic Turned Brown Too Quickly
Your heat was too high. Dark brown garlic will make the oil taste sharp and acrid. Unfortunately, there is no way to salvage this batch. Discard it, clean the pan, and start again over a lower flame. Consider using a heat diffuser if your stovetop runs hot.
The Oil Has Almost No Garlic Flavor
Either the infusion time was too short or the heat was too low. Twenty minutes at 180°F to 200°F should produce a clearly flavored oil. If yours tastes bland, try adding one or two additional cloves in your next batch, or extend the infusion time by another five to ten minutes.
The Oil Is Cloudy After Straining
Some fine garlic particles may have passed through the strainer. Run it through cheesecloth for a cleaner result. A small amount of cloudiness from the olive oil itself (especially if the oil was cold) is not a concern and will clear once the oil warms up.
The Oil Solidified in the Refrigerator
This is completely normal for olive oil. Set the jar out at room temperature for 20 minutes or place it in a small bowl of warm water for a few minutes. It will return to liquid form with no loss of flavor or quality.
Recipe Summary
| Detail | Specifics |
|---|---|
| Difficulty Level | Easy |
| Prep Time | 10 minutes |
| Cook/Infusion Time | 20 minutes |
| Cooling Time | 15 minutes |
| Total Time | Approximately 45 minutes |
| Yield | 1 cup (240 ml) |
| Shelf Life | 7 to 10 days, refrigerated |
A Few Final Notes
Making your own garlic infused olive oil is a genuinely satisfying kitchen project. The finished product smells extraordinary, costs a fraction of what specialty bottles fetch at gourmet shops, and gives you complete control over ingredients and flavor balance.
The most important habits to build are: use a thermometer, never skip refrigeration, and label every jar with the date. Follow those three practices consistently and you will always have a safe, fragrant, delicious garlic oil ready when you need it.
Small batches made frequently are far better than large batches that sit too long. This recipe takes less than an hour from start to finish. Make it on a Sunday evening and you will have a week's worth of the most versatile condiment in your kitchen.