
DIY Garlic Oil Spray for the Garden: A Traditional Grower's Preparation
Gardeners have been reaching for garlic long before anyone coined the phrase "natural pest deterrent." The pungent bulb has earned its place in growing traditions across cultures and centuries, and today a growing number of home growers are revisiting those roots with a modern twist: a simple garlic oil spray made with true garlic essential oil.
This preparation sits at the intersection of old-world practice and contemporary botanical sourcing. It draws on the deeply aromatic sulfur compounds that give garlic its unmistakable character, and it delivers them in a form that is easy to apply, easy to store, and easy to adjust. Whether your raised beds are just getting started or your container garden is a well-loved fixture on the back porch, this spray is worth adding to your seasonal toolkit.
A quick note before we begin: this article is focused entirely on garden and aromatic applications. For ideas on how garlic essential oil behaves in the kitchen, visit our cooking and crafting with garlic oil ultimate guide.
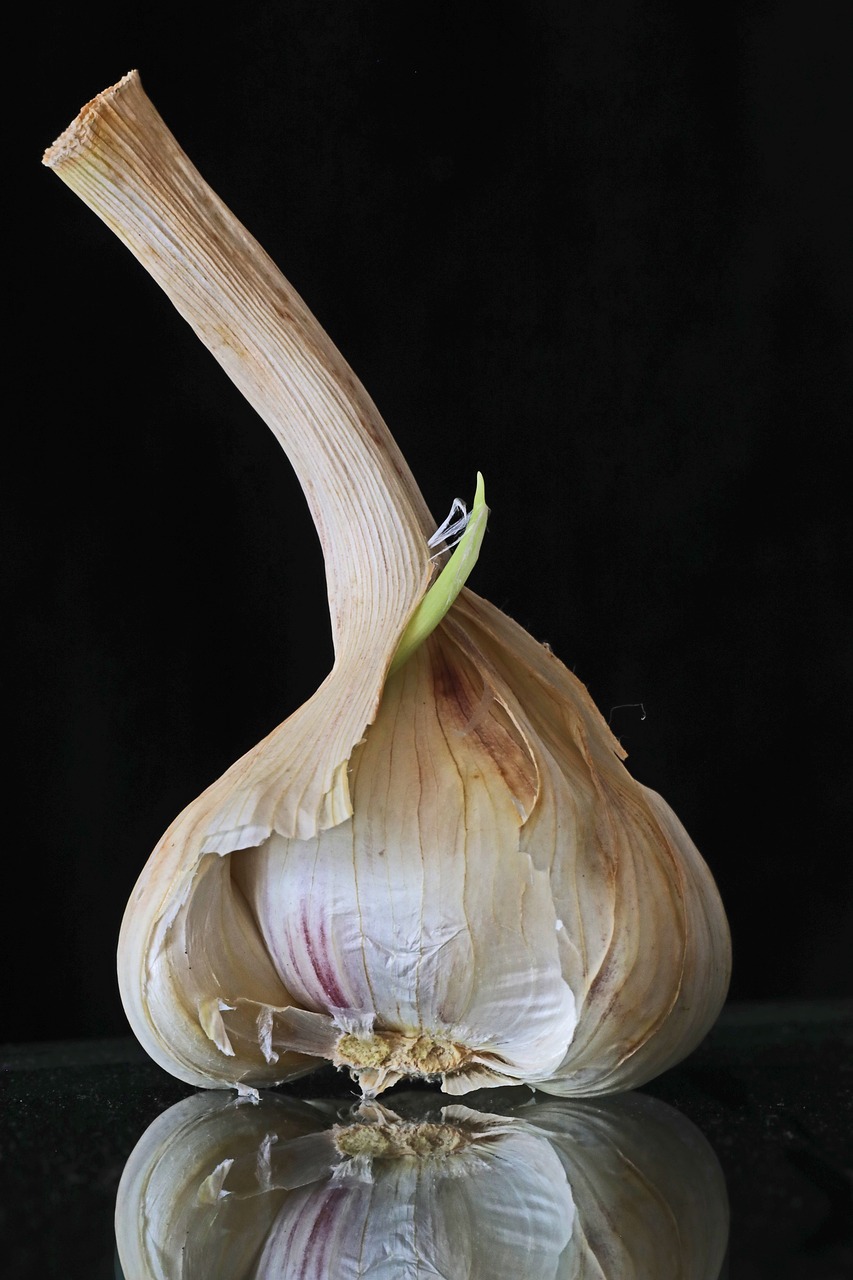
What This Spray Is (and What It Is Not)
This is a foliar spray formulated for external application to plant surfaces. It is not a soil amendment, a fertilizer, or a systemic product. It works on the surface of leaves, stems, and the area immediately surrounding your plants, relying primarily on the strong aromatic signature of garlic oil to make that environment less appealing to certain common garden visitors.
Growers have traditionally used garlic-based preparations to discourage aphids, spider mites, whiteflies, and other soft-bodied insects from settling in. Anecdotal evidence from home gardeners is abundant, and some research observations suggest that the volatile sulfur compounds in garlic oil may have a deterrent effect on a range of small insects. That said, results vary by garden, climate, pest pressure, and application consistency. This spray is one tool among many.
It is also worth stating plainly: garlic essential oil is highly concentrated. Respect the dilution ratios in this recipe. More is not better, and an overly concentrated spray can stress or scorch plant foliage, particularly on hot days or with sensitive varieties.
Recipe Overview
| Detail | Specifics |
|---|---|
| Difficulty Level | Beginner-friendly |
| Prep Time | 10 to 15 minutes (plus optional overnight infusion) |
| Yield | Approximately 16 oz (500 ml) of finished spray |
| Shelf Life | Up to 2 weeks refrigerated; use within 3 to 4 days at room temperature |
| Best Used | Early morning or early evening, never in full midday sun |
Ingredients
- 16 oz (500 ml) distilled water (tap water can leave mineral residue on leaves; distilled is preferred)
- 1 teaspoon (5 ml) pure liquid castile soap (unscented, plant-based; acts as an emulsifier and surfactant)
- 1 teaspoon (5 ml) vegetable glycerin (optional but recommended; helps the spray adhere to leaf surfaces)
- 1 tablespoon (15 ml) carrier oil (pure neem oil or cold-pressed jojoba oil both work well; helps disperse the essential oil)
- 10 to 15 drops garlic essential oil (this yields a dilution of approximately 0.1 to 0.15 percent, which is appropriate for foliar use)
Dilution note: 10 drops of garlic essential oil in 16 oz of water represents a very conservative dilution of roughly 0.1 percent. For established, hardy plants in moderate pest conditions, you may go up to 15 drops. Do not exceed 20 drops in this volume. Garlic essential oil is potent, and the aromatic compounds can stress tender foliage at higher concentrations.
Equipment You Will Need
- 16 oz (500 ml) spray bottle, preferably glass or HDPE plastic (essential oils can degrade standard thin plastic over time)
- Small measuring spoons
- A glass stirring rod or a clean chopstick
- A small funnel (optional but helpful)
- Labels and a permanent marker for dating your batch

Step-by-Step Instructions
-
Step 1: Combine the carrier oil and castile soap
Pour your tablespoon of carrier oil into the spray bottle first. Add the castile soap directly on top of it. Swirl gently. The soap acts as the emulsifying bridge between the oil and water phases, so combining them before adding water gives you a more stable mixture. If you are using vegetable glycerin, add it in this step as well.
-
Step 2: Add the garlic essential oil
Drop in your garlic essential oil now, before adding the water. Count drops carefully. Garlic essential oil has an extremely concentrated aroma, and it is easy to overshoot. Set the bottle down between drops if you need to. A slow, deliberate count is better than rushing.
-
Step 3: Add the distilled water
Pour in your 16 oz of distilled water slowly, using a funnel if needed. Filling slowly reduces foam from the castile soap. Leave a small amount of headspace at the top so you can shake the bottle before each use.
-
Step 4: Shake and label
Cap the bottle and shake well for 20 to 30 seconds. The mixture will not stay fully emulsified between uses, which is completely normal. Label the bottle with the date and contents before you set it down.
-
Step 5: Patch test before full application
This step is skipped by many growers and regretted by some. Spray a small section of one or two leaves on each plant variety in your garden. Wait 24 hours. Look for any signs of leaf stress: yellowing, spotting, wilting, or leaf edge burn. If you see none, proceed with full application.
-
Step 6: Apply to your plants
Shake the bottle vigorously before each use. Apply in the early morning or early evening when temperatures are cooler. Spray both the tops and undersides of leaves, which is where many insects prefer to congregate. Coat lightly. You are not drenching; you are misting. Pay particular attention to new growth and the undersides of older foliage.
Safety Warnings and Important Precautions
For Your Plants
- Always patch test first. Sensitive plant varieties, including some herbs, seedlings, and plants with delicate or waxy foliage, may react poorly to even dilute essential oil sprays. Test before committing to a full application.
- Never spray in direct midday sun. The oils and soap residue can concentrate heat on the leaf surface and cause scorch damage.
- Avoid spraying open blossoms. You do not want to deter pollinators from visiting your flowering plants. Spray in the early morning before bees and other beneficial insects are active, and aim for foliage rather than flowers.
- Reapply after rain. Rain washes this spray off relatively quickly. After any significant rainfall, check your plants and reapply if needed.
For You and Household Members
- Garlic essential oil is not for skin application without proper cosmetic dilution protocols. This garden spray is formulated for plants, not skin. Do not apply it to your body.
- Keep away from children and pets during application. Allow the spray to dry fully before allowing pets or children near treated plants.
- Use in well-ventilated areas. The aroma of garlic essential oil is extremely strong. Mixing this spray indoors may temporarily overwhelm a small kitchen. Consider mixing it outside or in a garage.
- Avoid contact with eyes and mucous membranes. If eye contact occurs, flush immediately with clean water.
- Store out of reach of children in a clearly labeled container. Never store in a vessel that could be mistaken for a beverage or food product.
Storage Instructions and Shelf Life
This spray is a water-based preparation, which means it is susceptible to microbial growth over time. The shelf life is relatively short compared to anhydrous (water-free) preparations.
- At room temperature: Use within 3 to 4 days. Keep the bottle out of direct sunlight.
- Refrigerated: The spray will keep for up to 2 weeks. Shake well before each use, as the mixture will separate when cold.
- Signs of spoilage: Cloudiness beyond normal separation, off-putting odors beyond the expected garlic scent, or visible changes in color are all reasons to discard and make a fresh batch.
For this reason, it is practical to make this spray in small batches that you will use within a week or two, rather than making a large volume and hoping it keeps. The 16 oz recipe above is intentionally sized for one to two weeks of regular use in a home garden.
Variations and Substitutions
The Herbaceous Variation
Add 5 drops of rosemary essential oil or peppermint essential oil alongside the garlic essential oil. Many growers report that this aromatic combination feels even more deterrent to certain insects. Keep your total essential oil count within the same overall dilution range: no more than 20 drops combined in 16 oz of water.
The Neem-Forward Version
Double the neem oil to 2 tablespoons and reduce the garlic essential oil to 8 drops. Neem oil has its own long tradition in garden care, and pairing it with garlic essential oil creates a spray with a more complex aromatic profile. Note that neem has a strong scent of its own; this version is not subtle.
A Concentrate for Larger Gardens
If you are working with a larger plot and want to mix in a bucket before applying with a garden sprayer, simply scale the recipe proportionally. The dilution ratios matter more than the total volume. Keep the essential oil at no more than 10 to 15 drops per 16 oz regardless of scale.
Soap-Free Option for Sensitive Plants
If you are concerned about soap residue on edible greens or particularly delicate herbs, you can omit the castile soap and replace it with an additional teaspoon of vegetable glycerin. The emulsification will be less stable, so you will need to shake more vigorously and spray immediately after shaking, but it works reasonably well for light applications.
A Note on Sourcing Your Garlic Essential Oil
The quality of your finished spray depends heavily on the quality of your starting material. Garlic essential oil should be steam-distilled from fresh garlic bulbs, free from carrier oil additions at the essential oil stage, and third-party tested for purity. A diluted or adulterated oil will not deliver the same aromatic intensity, and you may be tempted to add more drops to compensate, which can push your dilution into ranges that stress foliage.
Look for oils that list only "Allium sativum" on the ingredient declaration, with no added carriers. If the oil arrives in a bottle without a dropper insert, purchase a separate dropper cap before you start measuring. Accuracy matters at this concentration level.
If garlic essential oil has you curious beyond the garden, our piece on what flavors pair with garlic oil explores its aromatic personality in entirely different company. And for a seasonal application, our guide on garlic oil for grilling season covers marinades and bastes where this concentrated oil really earns its keep.
Application Schedule: A Practical Starting Point
Frequency matters as much as concentration. A single application rarely accomplishes much on its own. Most experienced home growers settle into a rhythm like this:
- Initial phase: Apply every 2 to 3 days for the first two weeks when pest pressure is high or as a preventive measure at the start of the growing season.
- Maintenance phase: Once every 5 to 7 days through the active growing season, or after any rainfall event.
- Adjustment: If you notice plant stress (leaf burn or yellowing) after application, reduce your concentration by 2 to 3 drops and lengthen the interval between applications.
Keep a simple garden journal noting your application dates, the concentration you used, which plants received the spray, and what you observed afterward. A few weeks of notes will tell you more about what works in your specific garden than any general guideline can.
Final Thoughts from the Potting Bench
This spray is a starting point, not a silver bullet. Garlic oil plants have a long and credible tradition in garden lore, and the diy garden spray approach gives you control over ingredients, concentration, and cost that commercial products simply cannot match. You know exactly what is going into your bottle and onto your plants.
Start with the conservative end of the dilution range. Patch test. Observe. Adjust. That slow, attentive approach is how most experienced growers come to trust a preparation like this one, and it is the same approach that makes any garden practice genuinely your own.